Create a group and asset group in InfoAsset Manager
Organize a database hierarchy with groups and asset groups in InfoAsset Manager.
Create a group and asset group in InfoAsset Manager
Step-by-step guide
In InfoAsset Manager, the data in the database is organized into a flexible hierarchy, which groups elements into manageable units.
A group can be used to represent the main divisions within the database as the top-level of the hierarchy. It can contain one or more asset groups, which represent subsidiary groups.
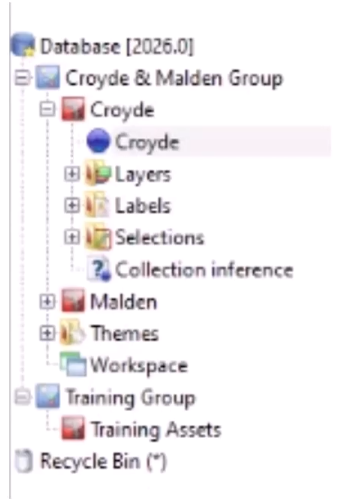
As an example, a group can represent a client, with asset groups set up for each major project or the different types of data for the client. The database structure and layout will vary depending on organizational preferences.
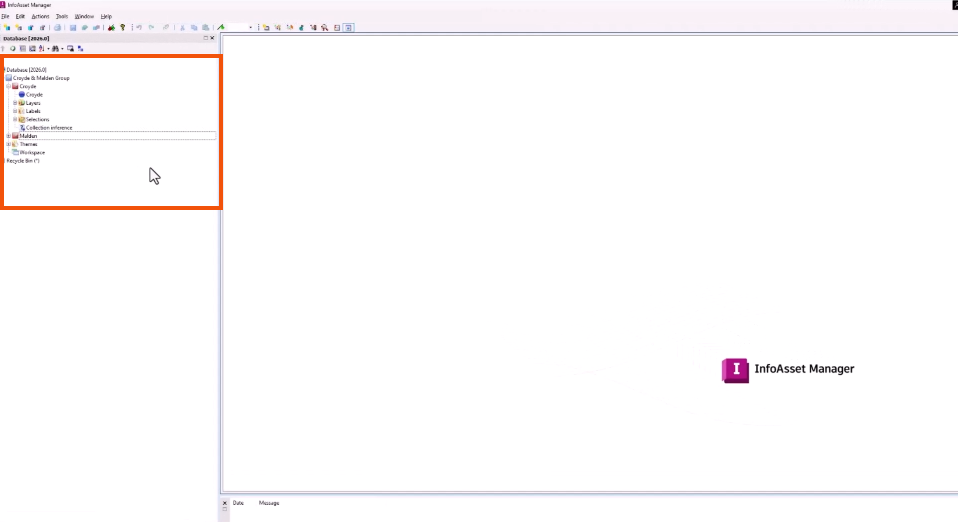
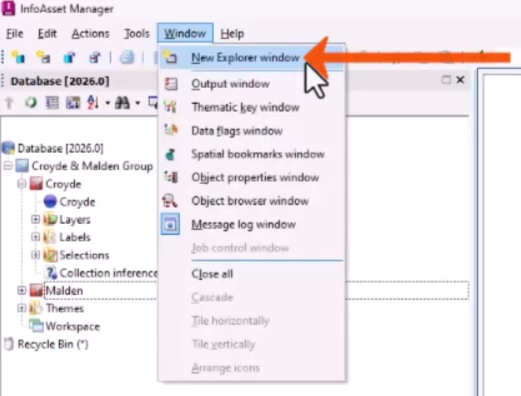
- If an Explorer window is not currently open, from the Window menu, select New Explorer window.
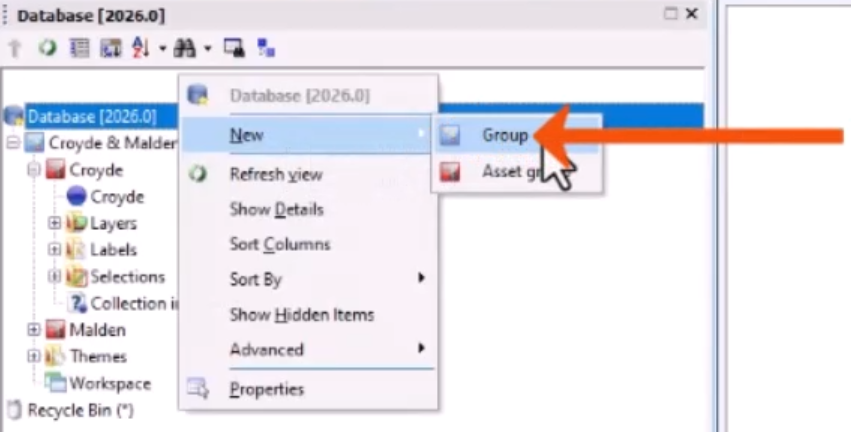
- In the Explorer window, right-click the database and select New > Group.
- In the New Name – Group dialog, add a Name, such as “Training Group”.

- Click OK.
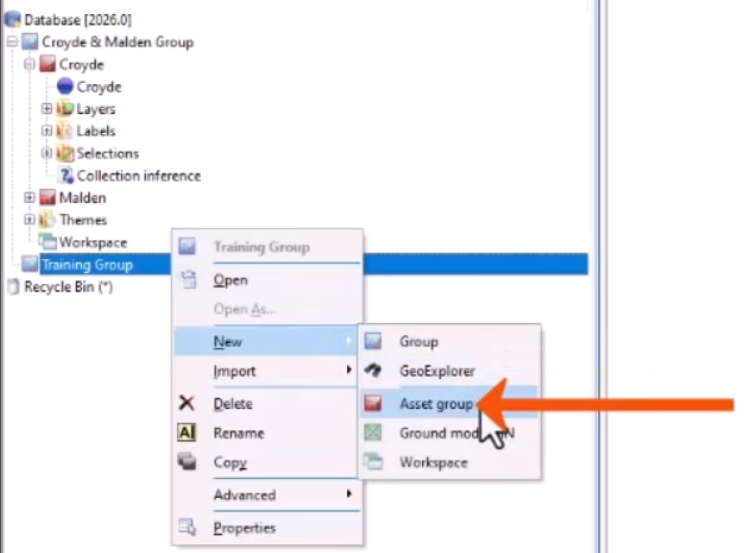
- Right-click the group and select New > Asset group.
- In the New Name – Asset group dialog, add a name, such as “Training Assets”.

- Click OK.
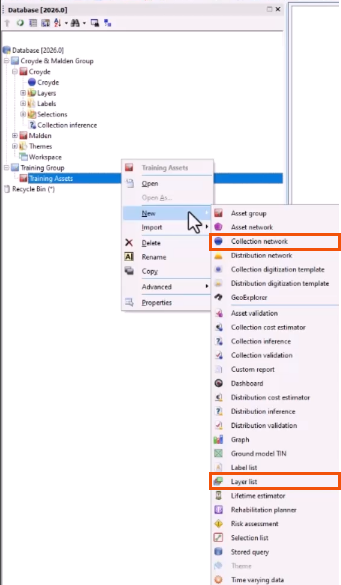
- Right-click an asset group, such as Training Assets, and select New.
- In the flyout, select the appropriate database item, such as Collection network or Layer list.
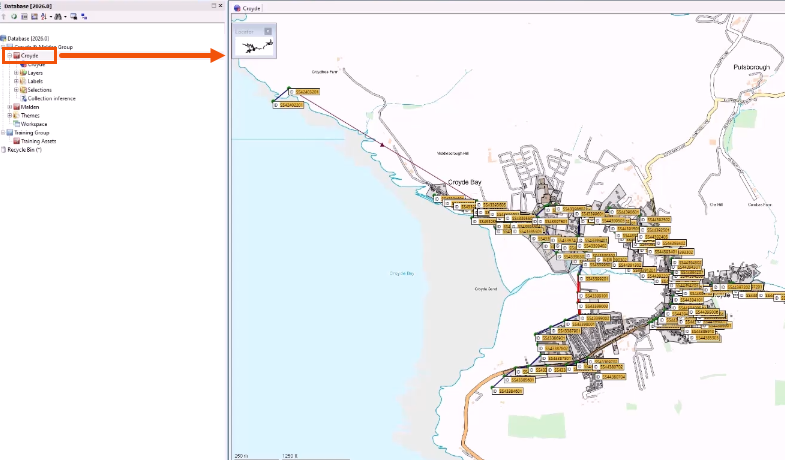
- To apply a database item from within an asset group to the network, drag and drop the item from the Explorer window onto the GeoPlan.
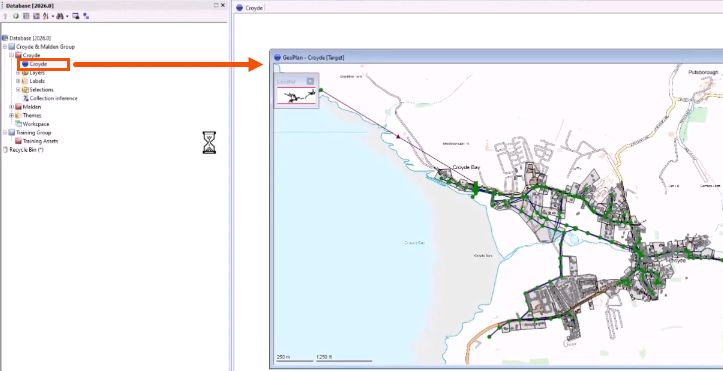
- Alternatively, drag and drop an asset group onto the GeoPlan to apply all items within the asset group to the network.